Introducing the Step-by-Step Guide to Building Your Own Aerogarden
Have you ever wanted to grow your own fresh herbs, vegetables, or fruits at home, but don’t have the space or time for a traditional garden? If so, then you’re in luck! With an Aerogarden, you can grow your own food indoors, regardless of your climate or location.
Aerogardens are self-contained growing systems that use aeroponics to grow plants. This means that the roots of the plants are suspended in air and misted with a nutrient-rich solution. This method of growing plants is very efficient, and it allows you to grow a wide variety of plants, even in small spaces.
In this step-by-step guide, we will show you how to build your own Aerogarden. We’ll cover everything from choosing the right materials to assembling and planting your garden. So if you’re ready to start growing your own fresh food, read on!
Step-by-Step Guide: Building Your Own Aerogarden
Step-by-Step Guide: Building Your Own Aerogarden
Loading... Seconds Left for
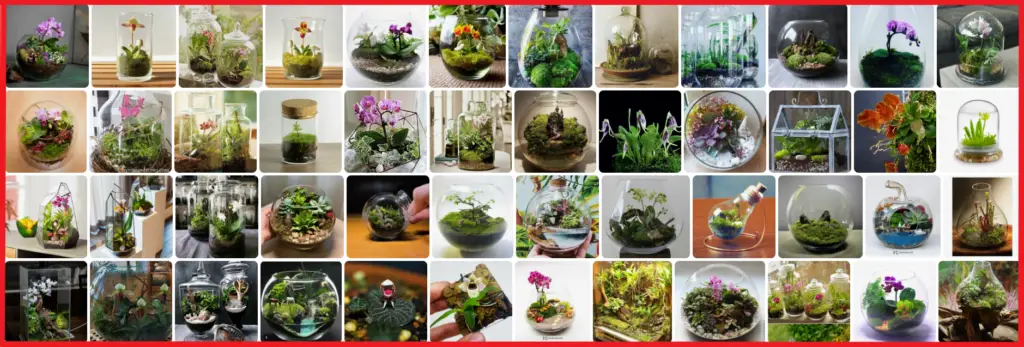
Miniature Orchid Terrarium Gallery!
Check the water level regularly and add water as needed.
Fertilize the plants every two weeks.
Prune the plants as needed.
Harvest the plants when they are ripe.
Troubleshooting:
If the plants are not growing, check to make sure that the air pump is working properly and that the water level is correct.
If the leaves of the plants are turning yellow, the plants may be over-fertilized.
If the leaves of the plants are wilting, the plants may be underwatered.
Enjoy your homegrown vegetables!
er-your-materials">1. Gather Your Materials
1. Gather Your Materials
A clear plastic container (such as a 1-gallon or 2-gallon aquarium)
A heating mat
A water pump
A timer
Net cups
Growing medium (such as rockwool or coconut coir)
Seeds or seedlings
Once y
ou have gathered your materials, you can begin building your Aerogarden.
d-the-base">2. Build the Base
2. Build the Base
To build the base of your Aerogarden, you will need the following materials:
A 2×4-foot piece of plywood
A 2×4-foot piece of MDF
A 1×4-foot piece of MDF
A drilli>
A saw
Wood screws
Wood 0C;glue
Cut the plywood and MDF to the following dimensions:
>The plywood should be cut into two pieces: one that is 2×4 feet and one that is 1×4 feet.
The MDF should be cut into two pieces: one that is 2×4 feet and one that is 1×4 feet.
Assemble the base by attaching the two pieces of plywood together with wood screws.
Attach the 1×4-foot piece of MDF to the front of the base with wood glue and wood screws.
Attach the 1×4-foot piece of MDF to the back of the base with wood glue and wood screws.
Your base is now complete! You can now move on to building the grow bed.
3. Add the Water Reservoir
Step 1: Place the water reservoir on the bottom of the grow bed.
Step 2: Fill the reservoir with water up to the fill line.
rong>Step 3: Add the nutrient solution to the water according to the package directions.
Step 4: Plug in the Aerogarden and turn it on.
The water reservoir will automatically circulate the nutrient solution through the grow bed, providing your plants with the water and nutrients they need to grow.
all-the-grow-lights">4. Install the Grow Lights
Once you have assembled your Aerogarden, it’s time to install the grow lights. The grow lights are an essential part of your Aerogarden, as they provide the plants with the light they need to grow.
To install&
#x200C; the grow lights, follow these steps:
Unscrew the four screws that hold the light hood in place.
Remove the light hood.
Align the grow lights with the holes in the top of the Aerogarden.
Screw the grow lights into place.
Replace the light hood.
Now that you have installed the grow lights, you can start growing your plants!
5. Plant Your Seeds
#
Once your A
erogarden is set up and filled with water, it’s time to plant your seeds!
Choose your seeds. You can choose from a variety of seeds that are specifically designed for Aerogardens. Make sure to choose seeds that are compatible with the type of light your Aerogarden uses.
Prepare your seeds. If your seeds are not pre-sprouted, you will need to soak them in water for 24 hours before planting.
Plant your seeds. Gently place the seeds in the pods, making sure that they are covered with soil.
Water your seeds. Water your seeds until the soil is moist but not soggy.
Place your Aerogarden in a sunny spot. Your Aerogarden needs at least 6 hours of sunlight per day.
Your
seeds will begin to sprout within a few days. Once they have sprouted, you can start to add nutrients to the water. Follow the instructions on the nutrient bottle for how much to add and how often.
Your plants will continue to grow for 4-6 weeks. Once they are mature, you can harvest them and enjoy your fresh, homegrown produce!
Tips:
If your seeds do not sprout, you can try re-soaking them in water for another 24 hours.
If your plants are not growing well, you may need to adjust the amount of nutrients you are adding to the water.
If your plants are starting to wilt, you may need to water them more often.
You can harvest your plants when they are ripe. To do this, simply cut the stem off of the plant.
6. Maintain Your Aerogarden
Once your Aerogarden is up and running, it’s important to maintain it properly to ensure that your plants stay healthy and productive. Here are a few tips:
ng>Check the water level regularly and add water as needed. The water level should be about 1-2 inches below the bottom of the grow light.
Fertilize your plants according to the manufacturer’s instructions. Fertilizing your plants will help them to grow strong and healthy.
Clean the grow light regularly. A dirty grow light can reduce the amount of light that reaches your plants, which can stunt their growth.
Inspect your plants regularly for pests and diseases. If you see any pests or diseases, treat them immediately to prevent them from spreading to your other plants.
By following these tips, you can help to keep your Aerogarden running smoothly and your plants healthy and productive.
Building your own Aerogarden is a fun and rewarding project that can save you money in the long run. With a little time and effort, you can create a custom-made gardening system that fits your needs and budget. So what are you waiting for? Get started today!
Here are some additional resources that you may find helpful:
Hello, I'm Katie Owen! I am the voice behind "plantandseedguide," inviting you on a journey through the enchanting world of greenery. The magical beauty of nature and the fascinating realm of plants have always captivated me, leading me to this space.
href="https://plantandseedguide.com/advices-tips/why-are-the-tips-of-my-snake-plant-turning-brown-2/">Why Are the Tips of My Snake Plant Turning Brown - January 25, 2025