Orchid potting mix is a special type of soil that is designed to meet the specific needs of orchids.
Orchids are epiphytes, which means that they grow on trees and other plants, and they do not have a root system that is adapted to growing in soil..
As a result, orchid potting mix needs to be lightweight and well-draining, and it should also provide the orchids with the nutrients they need to grow and thrive.
There are a variety of different orchid potting mixes available on the market, but the best mix for your orchids will depend on the type of orchid you are growing. Some orchids, such as Phalaenopsis orchids, prefer a more bark-based mix, while others, such as Cattleya orchids, prefer a mix that is more peat-based.
If you are not sure what type of orchid potting mix is best for your orchids, you can always ask a professional orchid grower for advice. You can also find a variety of recipes for homemade orchid potting mixes online.
Ingredients of Orchid Potting Mix
The following are some of the most common ingredients used in orchid potting mixes:
Loading... Seconds Left for
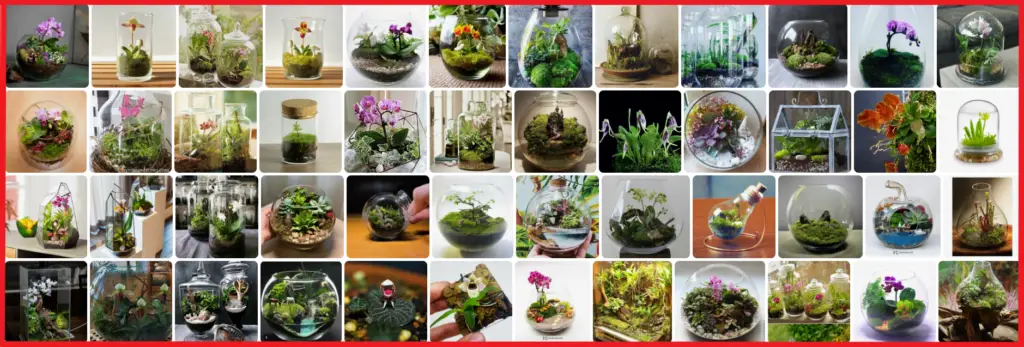
Miniature Orchid Terrarium Gallery!
Peat moss
Bark chips
Perlite
Sphagnum moss
Coir
Charcoal
The e
xact proportions of these ingredients will vary depending on the type of orchid potting mix you are making, but a good starting point is to use a mix that is 50% peat moss, 25% bark chips, 20% perlite, and 5% sphagnum moss.
How to Make Your Own Orchid Potting Mix
Making your own orchid potting mix is a relatively simple process. You can either use a pre-made recipe or you can create your own mix using the ingredients listed above.
To make you
r own orchid potting mix, simply combine the ingredients in a large bucket or container. Mix the ingredients until they are evenly distributed, and then add water until the mix is moist but not soggy.
Once you have made your orchid potting mix, you can store it in a sealed container until you are ready to use it.
How_to_Repot_an_Orchid">How to Repot an Orchid
Repoting an orchid is an important part of caring for your orchids. Orchids need to be repotted every few years, or when the roots become pot-bound.
To repot an orchid, you will need the following materials:
A new orchid pot
Orchid potting mix
A sharp knife or scissors
A watering can
To re
pot your orchid, follow these steps:
Gently remove the orchid from its current pot.
Loosen the roots of the orchid so that they are not tightly packed together.
Place the orchid in the new pot, making sure that the roots are spread out evenly.
Fill the pot with orchid potting mix, leaving about an inch of space at the top.
Water the orchid thoroughly.
Once
you have repotted your orchid, place it in a bright spot that receives indirect sunlight. Water the orchid regularly, and fertilize it once a month.
When to Repot an Orchid
You should repot an orchid when the following conditions are met:
The roots are pot-bound.
The orchid is outgrowing its pot.
The potting mix is breaking down.
If you are not sure if it is time to repot your orchid, you can check the roots to see if they are pot-bound. If the roots are tightly packed together and there is no room for new growth, it is time to repot your orchid.
How_to_Water_Orchids">How to Water Orchids
Topic
Feature
Orchid mix
Contains bark, charcoal, and sphagnum moss
Orchid fertilizer
Contains nitrogen, phosphorus, and potassium
Orchid care
Water regularly, fertilize monthly, and provide bright indirect light
Potting mix
Well-draining, aerated mix that allows for air circulation to the roots
Orchid blooming
Provide cool nights and long days to encourage blooming
What is orchid potting mix?
Orchid potting mix is a special type of soil that is designed to meet the specific needs of orchids.
Orchids are epiphytes, which means that they grow on trees and other plants, and they do not have a root system that is designed to absorb nutrients from the soil..
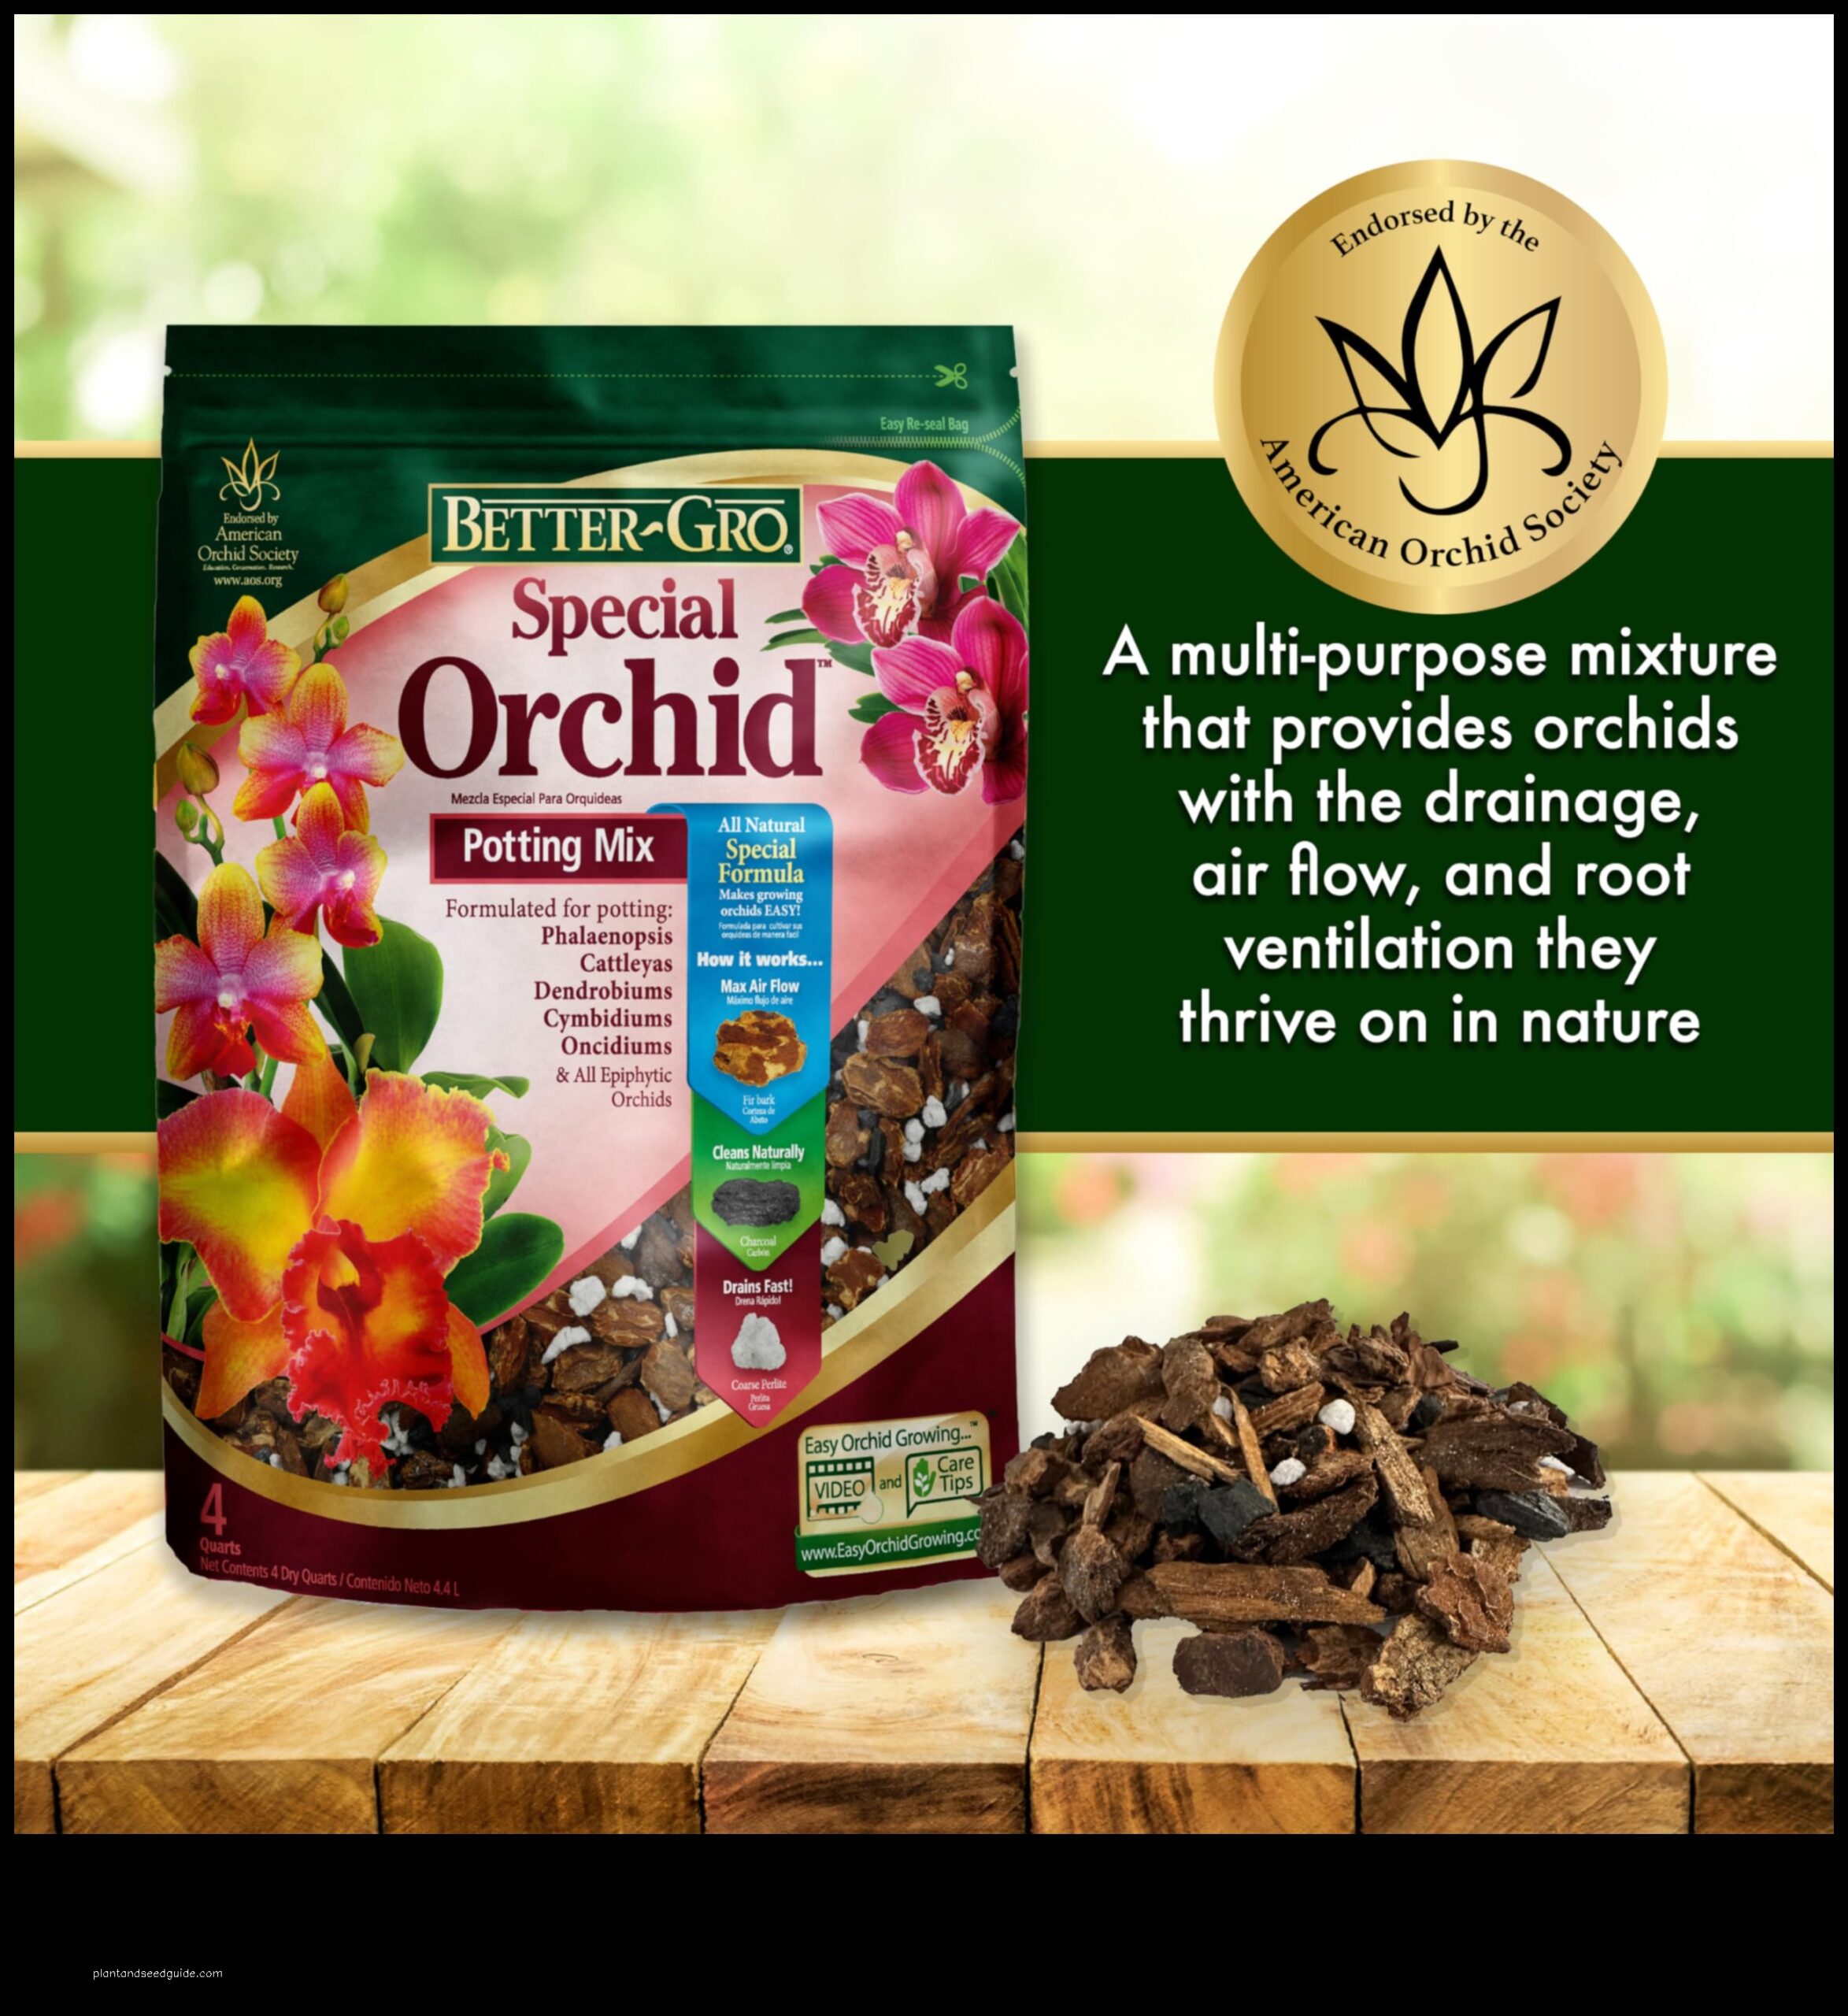
Orchid potting mix is made up of a variety of materials, including bark, sphagnum moss, perlite, and charcoal. These materials help to provide orchids with the drainage, aeration, and moisture that they need to thrive.
How to make your own orchid potting mix
To make your own orchid potting mix, you will need the following ingredients:
1 part bark chips
1 part sphagnum moss
1 part perlite
1 part charcoal
You
can also add other ingredients to your mix, such as orchid fertilizer, worm castings, or coconut coir.
To make the mix, simply combine all of the ingredients in a large bucket or container. You can use your hands to mix the ingredients together, or you can use a garden hose to give the mix a good watering.
Once the mix is combined, you can use it to repot your orchids. Be sure to water your orchids thoroughly after repotting.
Here are s
ome tips for making your own orchid potting mix:
Use a sterile potting mix to avoid introducing pests or diseases to your orchids.
Use a well-draining potting mix to prevent your orchids from becoming waterlogged.
Adjust the potting mix to the specific needs of your orchids. For example, if you have orchids that like to dry out between waterings, you can use a mix that is higher in bark chips.
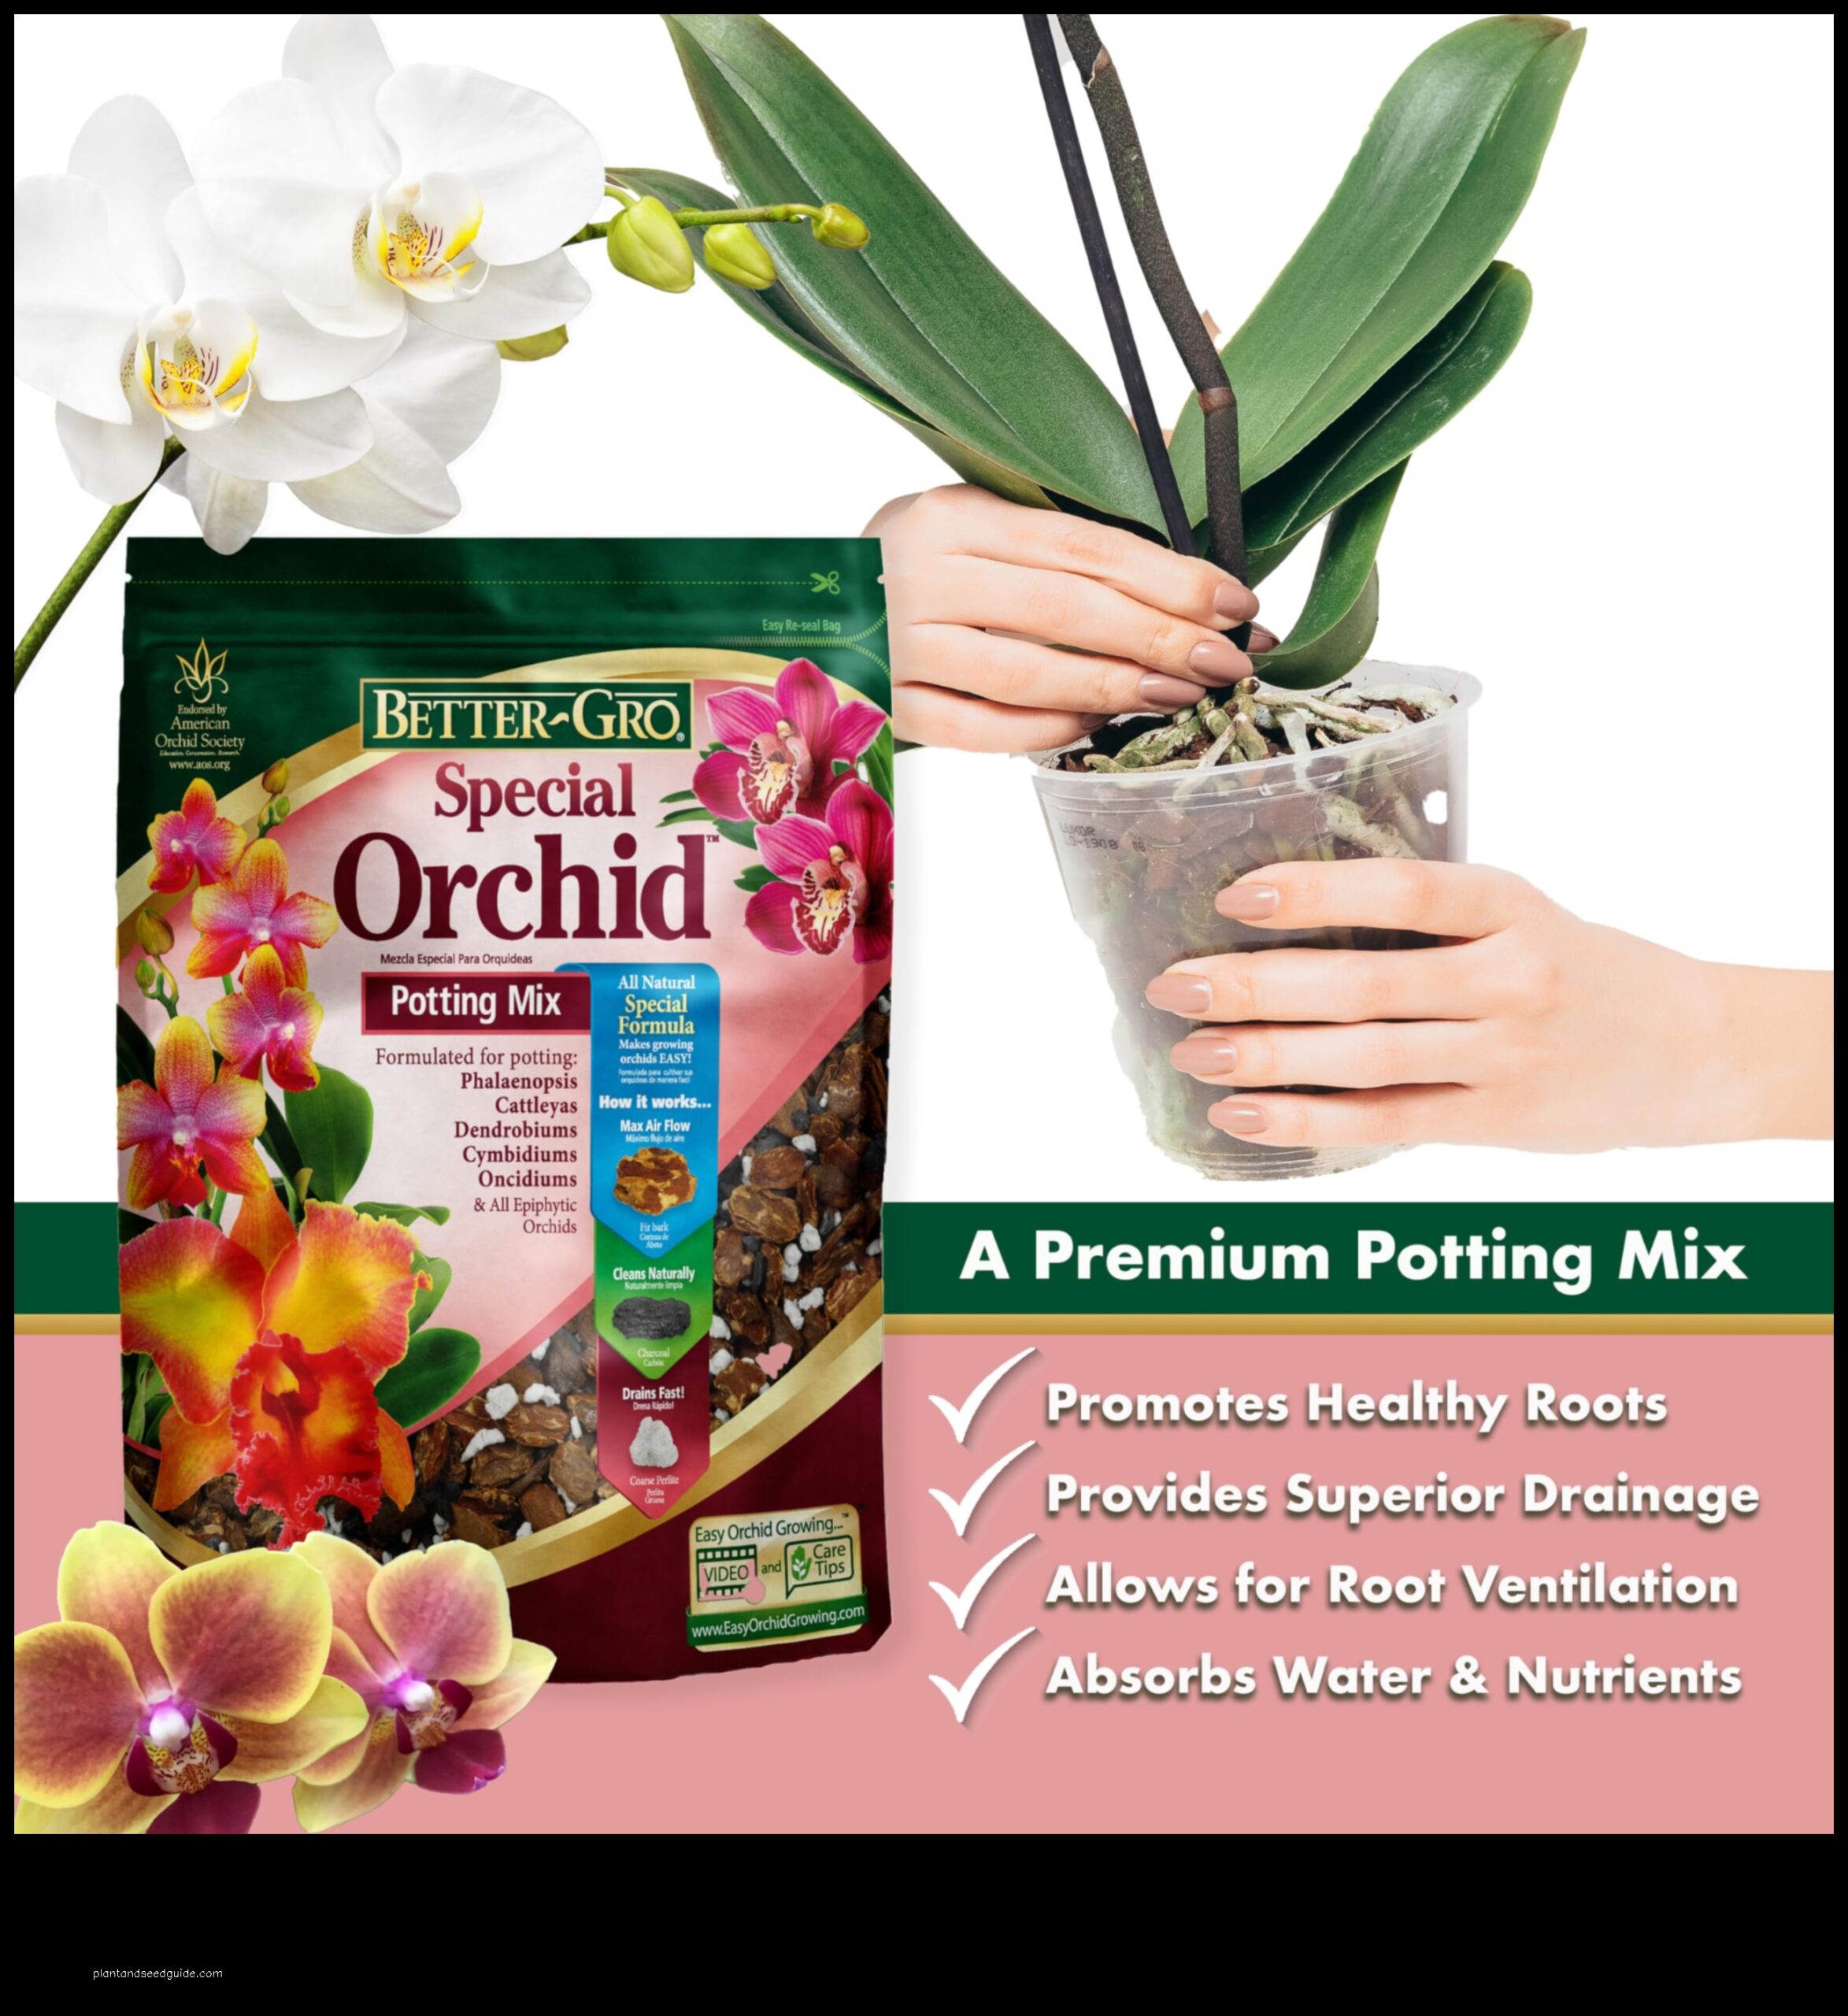
How to repot an orchid
Repotting an orchid is a necessary task that should be done every few years. This is because orchids grow quickly and their roots will eventually outgrow their pot. Repotting also allows you to check the roots for any signs of damage or disease.
To repot an orchid, you will need the following materials:
A new pot that is 1-2 inches larger than the current pot
Orchid potting mix
A spray bottle filled with water
A pair of sharp scissors
To repot the orchid, follow these steps:
Remove the orchid from its current pot.
Gently loosen the roots of the orchid so that they are not tightly bound together.
Place the orchid in the new pot and fill in around the roots with potting mix.
Water the orchid thoroughly.
Place the orchid in a bright location with indirect sunlight.
Repotting an orchid is a simple task that can help to keep your orchids healthy and thriving.
When to repot an orchid
Orchids should be repotted when they are rootbound, which means that the roots have filled the pot and are starting to grow out of the drainage holes. This can usually be determined by looking at the top of the pot, where you should see a mass of roots growing out of the soil. If you are not sure whether or not your orchid is rootbound, you can gently remove it from the pot and check the roots. If the roots are tightly packed together and there is no space for new roots to grow, it is time to repot the orchid.
The best ti
me to repot an orchid is in the spring, when the plant is actively growing. This will give the orchid time to establish itself in its new pot before the winter months.
To repot an orchid, you will need a new pot that is about 2 inches larger than the current pot. The new pot should have drainage holes in the bottom to allow excess water to drain away. You will also need a potting mix that is specifically designed for orchids.
To repot the orchid, first remove it from the old pot.
Gently loosen the roots from the soil and discard any old soil that is stuck to the roots..
Place the orchid in the new pot and fill in around the roots with new potting mix. Water the orchid thoroughly and place it in a bright, indirect light location.
After repot
ting, the orchid may experience some temporary shock. The leaves may wilt or the flowers may drop. This is normal and the orchid will recover in a few weeks.
VHow to water orchids
Orchids are epiphytic plants, which means that they grow on other plants and do not have their own roots. This means that they get their water and nutrients from the air and the rain. As a result, it is important to water orchids carefully so that they do not get too much or too little water.
The best way to water orchids is to bottom water them.
This means that you fill a pot or sink with water and place the orchid pot in the water so that the roots are submerged..
The roots will absorb the water as needed. You should only water orchids when the top of the potting mix is dry.
It is also
important to mist orchids regularly. This will help to keep the leaves and flowers hydrated. You should mist orchids once or twice a day, or more often if the air is dry.
If you are not sure how often to water your orchids, it is better to err on the side of caution and water them less often. Overwatering is the most common cause of problems with orchids.
FAQ
Here are some common questions about orchids and their care:
Q: What is the best orchid potting mix?
A: There is no one-size-fits-all answer to this question, as the best orchid potting mix will vary depending on the type of orchid you are growing. However, a good orchid potting mix should be well-draining and airy, and it should contain a combination of bark, perlite, and peat moss.
Q: How often should I water my orchids?
A: The frequency of watering will depend on the type of orchid you are growing, as well as the climate in which you live. However, a good rule of thumb is to water your orchids when the top inch of soil is dry.
Q: How much fertilizer should I use on my orchids?
A: The amount of fertilizer you use will depend on the type of orchid you are growing, as well as the stage of growth it is in. However, a good rule of thumb is to use a diluted orchid fertilizer once a month during the growing season.
Q: How do I know if my orchid is sick?
A: There are a number of signs that can indicate that your orchid is sick, including: wilted leaves, yellow leaves, brown spots on the leaves, and a lack of new growth. If you notice any of these signs, it is important to take action to treat the problem before it gets worse.
Q: How do I propagate an orchid?
A: There are a number of ways to propagate orchids, but the most common method is to divide the plant.
To do this, you will need to carefully remove the orchid from its pot and divide the roots into two or more sections..
Each section should have at least one healthy growth node. Once the plants have been divided, you can replant them in new pots.
How to prune orchids
Pruning orchids is an important part of their care, as it helps to keep them healthy and encourages new growth. When pruning orchids, it is important to use sharp, clean scissors and to make cuts just above a node. The following are some tips for pruning orchids:
Prune orchids in the spring or early summer. This is when they are actively growing and will be able to recover from the pruning more quickly.
Prune dead or damaged leaves. These leaves are no longer providing any benefit to the plant and can actually be a source of disease.
Prune spent flowers. Once an orchid flower has finished blooming, it will start to turn brown and wilt. The best way to remove the spent flower is to cut it off just below the node.
Prune back overgrown stems. If an orchid stem has become too long or leggy, you can prune it back to a shorter length. When pruning back a stem, make sure to cut it just above a node.
Pruning orc
hids can help to keep them healthy and looking their best. By following these tips, you can prune your orchids with confidence and enjoy their beautiful blooms for years to come.
How to propagate orchids
Orchids can be propagated by division, stem cuttings, or seed.
To propagate an orchid by division, you will need to carefully separate the roots of the orchid into two or more sections.
Each section should have at least one healthy growth point..
Once the orchids have been divided, repot them into separate pots filled with fresh orchid potting mix.
To propagat
e an orchid by stem cuttings, you will need to cut a healthy stem from the orchid. The stem should be about 4-6 inches long and have at least two or three leaves. Dip the cut end of the stem into rooting hormone and then place it in a pot filled with moist sphagnum moss. Keep the moss moist and the temperature warm (70-80 degrees Fahrenheit) until the stem has rooted. Once the stem has rooted, you can transplant it into a pot filled with fresh orchid potting mix.
To propagate an orchid by seed, you will need to start with fresh orchid seeds.
Orchid seeds are very small and delicate, so it is important to handle them carefully..
Sow the seeds on a moistened piece of sphagnum moss or perlite. Place the seeds in a warm, humid environment (70-80 degrees Fahrenheit) and mist them regularly. The seeds will take several months to germinate. Once the seedlings have germinated, you can transplant them into small pots filled with fresh orchid potting mix.
FAQ
Q: What is the best orchid potting mix?
A: There is no one-size-fits-all answer to this question, as the best orchid potting mix will vary depending on the type of orchid you are growing. However, some general tips for choosing a good orchid potting mix include:
It should be well-draining, so that water does not accumulate and cause the roots to rot.
It should be airy and light, so that the roots can breathe.
It should contain a variety of organic matter, such as bark, moss, and perlite.
Q: How often should I water my orchids?
A: The frequency of watering will depend on the type of orchid you are growing, as well as the climate in which you live. However, a good rule of thumb is to water your orchids when the top inch of the potting mix is dry.
Q: How do I know if my orchid needs fertilizer?
A: Orchids are not heavy feeders, and they do not need to be fertilized as often as other plants. However, you may need to fertilize your orchids if they are not blooming or if their leaves are starting to turn yellow.
Hello, I'm Katie Owen! I am the voice behind "plantandseedguide," inviting you on a journey through the enchanting world of greenery. The magical beauty of nature and the fascinating realm of plants have always captivated me, leading me to this space.
href="https://plantandseedguide.com/advices-tips/why-are-the-tips-of-my-snake-plant-turning-brown-2/">Why Are the Tips of My Snake Plant Turning Brown - January 25, 2025